Setting Out A Roof For Slating
Roofing With Slate

How To Slate A Roof Instructions On How To Fit Lay Slates

Setting Out The First Row Of Slates On A Pitched Roof Youtube

A Video Explaining The Merits Of Hook Fixing Natural Roofing Slate Youtube

How To Install Slate Roof Hips And Ridges

How To Slate A Roof Set Out A Slate Roof Bottom Row Slate Roof Roof Building Roof
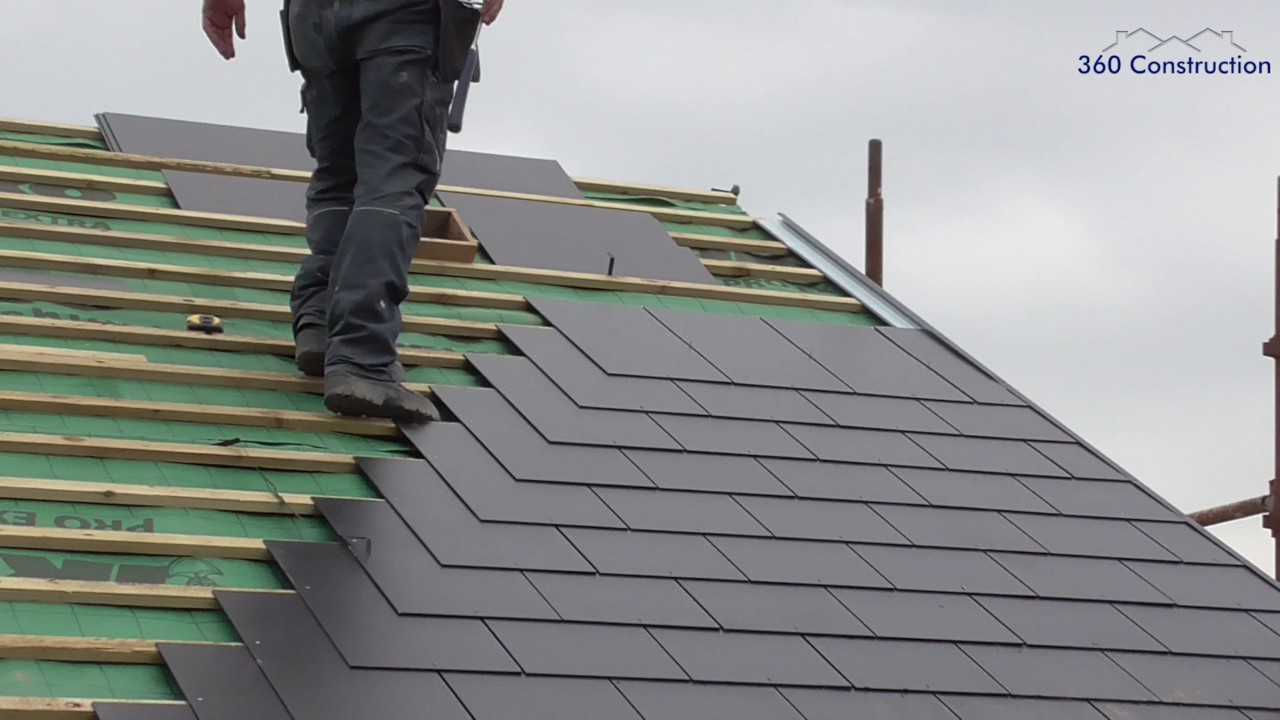
When slating with a shallow pitch a wide slate is highly recommended for maximum side lap or lateral lap side overlaps.
Setting out a roof for slating.
Roofing Slating Youtube

How To Preserve Slate Roof By Joseph Jenkins Slate Roof Slate Copper Nails

Loft Conversion Part 15 Slating The Roof Roof Slates Copper Nails Disk Rivets Youtube

Roofing Slate Installation On Battens Google Search Slate Roof Tiles Slate Roof Installation Roof Installation

Batten Gauge Tables For Natural Slate Natural Slate Knowledge Base Siga

Gaf Truslate

Good Roofing Guide How To Guides How To Lay Or Replace A Slate On A Slate Roof How To Lay Or Replace A Slate On A Slate Roof Jj Roofing Supplies

5 Crates Of 500 X 250 T1 Chinese Roofing Slate Ebay Slate Roof Roofing Slate Roof Tiles

Beck Slate Hook Fastening System Installation Guide Youtube

Traditional Roofing Magazine How To Install Slate Roof Starter Courses

Reinforced Concrete Pitched Roof Bundled Construction Details Clay Roof Tiles Concrete Roof Pitched Roof

Three Structures Four Roof Types Build Blog Roofingbalcony Roof Types Roof Architecture Modern Roofing

Roof Detail Mixed Insulation Perlin And Counter Perlin With Slate Roof Steel Construction Roof Detail Shingle Roof Details Roof Insulation Details

Repurposed Slate Roof Tiles As Tile Floor Slate Roof Slate Roof Tiles Slate Patio

Golden Eagle Tiles Not All Colors And Profiles Available In All Regions Check Www Eagleroofing Com For Avai Concrete Roof Tiles Outside Paint House Exterior

You Could Buy The Best Roofing Materials Out There But If They Re Not Installed Properly You Could Be Setting Yourself Up For Per In 2020 Cool Roof Metal Roof Roofing

Interlock Standing Seam Roof Deep Charcoal Hip Valley Ridge Caps Metal Roof

1

Pin On Details

How To Preserve Slate Roof By Joseph Jenkins Slate Roof Slate Roofing

Interlock Metal Roofing Systems Are Made With Heavy Gauge Aluminum And Available In Metal Slate Cedar Shing Metal Roofing Systems Metal Roof Colors Metal Roof

Roofing Materials For Rainwater Bluebarrel Rainwater

Hip Roof Calculation Roofing Roof Replacement Cost Roof
Source : pinterest.com
